
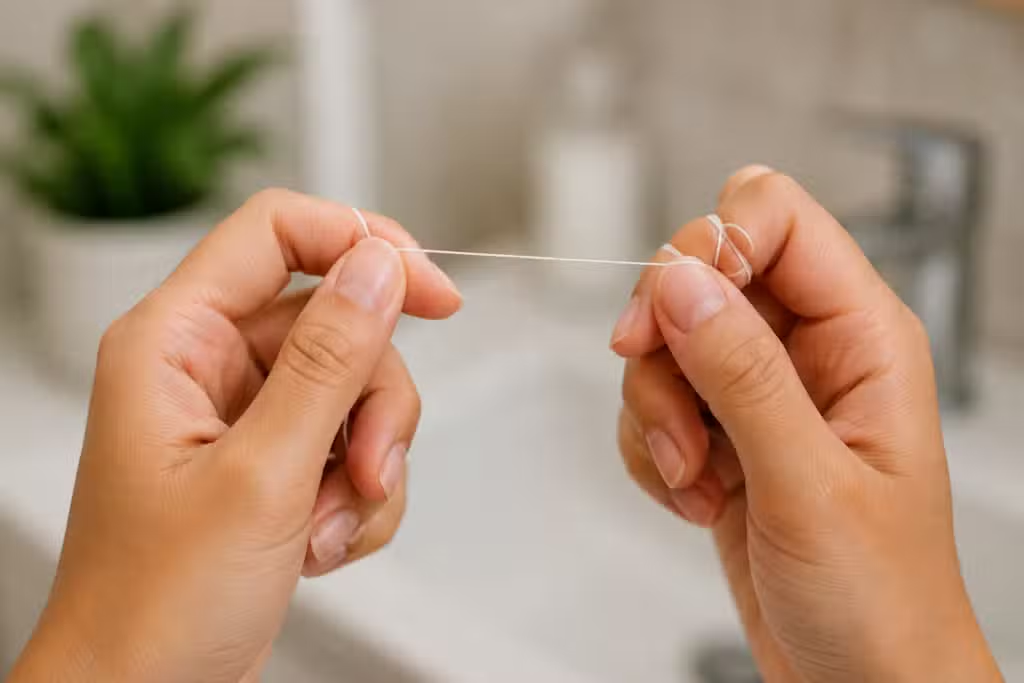
When parents build a daily oral hygiene routine for their children, toothbrushing almost always takes center stage. Brushing twice a day is a fundamental habit, but it only cleans about 60% of your child’s tooth surfaces. The remaining 40% lies directly between the teeth, where toothbrush bristles simply cannot reach.
Introducing flossing early in your child’s life is essential for stopping hidden cavities before they start. While flossing a wriggling toddler or a reluctant young child may sound daunting, using child-friendly tools and simple techniques transforms interdental care into a fast, manageable part of your family’s daily routine.
Why Toothbrushing Alone Isn’t Enough
A toothbrush is excellent at sweeping away plaque from the flat chewing surfaces, front faces, and back walls of teeth. However, where two teeth touch side-by-side, tight contact points trap food particles, sticky sugars, and microscopic plaque bacteria.
1. Stopping Interdental Cavities (Class II Decay)
Cavities that form between teeth known clinically as interdental or Class II cavitiesare among the most common dental issues seen in young children. Because the enamel on primary baby teeth is significantly thinner than adult tooth enamel, decay starting between two teeth can spread rapidly into the inner nerve chamber often without showing obvious early warning signs on the surface.
2. Protecting Delicate Gum Tissue
Plaque that lingers along the gumline between teeth hardens and irritates delicate tissue. Over time, unremoved interdental plaque causes chronic gum inflammation, leading to gums that bleed easily, swell, or feel tender during routine brushing. Daily flossing removes this soft plaque buildup, keeping surrounding tissues firm, pink, and healthy.
When Should You Start Flossing Your Child’s Teeth?
A common misconception is that flossing should wait until a child reaches school age or develops permanent teeth. In reality, the timeline for flossing depends entirely on tooth spacing rather than a specific birthday.
The Two-Tooth Rule
The universal rule recommended by pediatric specialists is simple: Start flossing as soon as your child has any two teeth that touch each other.
- Gaps between teeth: If your baby or toddler has visible gaps between all their teeth, toothbrush bristles can sweep around every side naturally. Flossing is generally unnecessary during this gapped stage.
- Touching teeth: The moment two teeth grow close enough to contact each other—most commonly the back primary molars around ages two to three—start flossing between those contact points daily.
Tool Breakdown: Floss Picks vs. Traditional String Floss
Choosing the right tool makes a significant difference in how easily you can maneuver between small teeth. While both tools remove plaque effectively, each offers distinct advantages for parents and growing kids.
| Feature or Characteristic | Pre-Threaded Floss Picks | Traditional String Floss |
|---|---|---|
| Ease of Use for Parents | Exceptional; easy single-hand control | Requires winding string around two fingers |
| Child Independence | High; easy for small hands to maneuver | Low; requires advanced fine motor coordination |
| Maneuverability in Small Mouths | High; thin plastic head fits into tight cheeks | Moderate; requires getting multiple adult fingers inside mouth |
| Curving Technique (C-Shape) | Moderate; stiff tension limits wrapping around tooth curve | Superior; wraps easily around tooth contours |
| Best Suited For | Daily home routine, toddlers, and beginners | Older children, tight contacts, and advanced cleaning |
Why Floss Picks Win for Young Children
For most parents of toddlers and young children, pre-threaded handheld floss picks are the ultimate game-changer. Trying to wind long pieces of string floss around your fingers while holding open a small child’s mouth can feel frustrating. Floss picks allow you to control the tool with one hand while using your other hand to gently support your child’s chin or lip.
Look for brightly colored, BPA-free floss picks designed specifically for kids, featuring soft grips and rounded plastic heads to prevent poking tender gums.
Step-by-Step Guide: How to Floss Your Child’s Teeth
Flossing young teeth requires gentle precision. Using heavy force can snap the floss down into the gumline, causing discomfort that makes children fearful of future flossing sessions.
1. Position Your Child Comfortably
Trying to floss a child who is standing and looking up at you is tiring for both of you. Use positions that keep their head supported and give you clear visibility:
- The Standing Mirror Hug: Stand behind your child in front of the bathroom mirror. Have them tilt their head back against your chest so you can look straight down into their mouth.
- The Lap Laydown: Have your child lay their head back in your lap while sitting on the floor or sofa, giving you complete stability and direct lighting.
2. The Sawing Entry Technique
Never snap the floss directly down between tight teeth. Instead, slide the floss between the teeth using a gentle back-and-forth sawing motion until it glides past the tight contact point.
3. The “C-Shape” Hug
Once the floss passes the contact point:
- Curve the floss into a tight “C-shape” against the side of one tooth.
- Gently slide the floss upward and downward from beneath the gumline to the top edge of the tooth two or three times.
- Curve the floss in the opposite direction to hug the adjacent tooth, repeating the same up-and-down motion.
- Saw gently back and forth to lift the floss out of the contact point, then move on to the next space.
Age-by-Age Flossing Milestones
As children grow, their role in daily oral hygiene evolves from passive assistance to full independence.
| Age Range | Parent Role | Child Role | Primary Objective |
|---|---|---|---|
| Ages 2 to 6 | 100% Parent-executed | Holding the floss pick handle, practicing on toys | Building a positive daily routine without resistance |
| Ages 7 to 9 | Active supervision & “finish-up” checks | Flossing front teeth independently with floss picks | Developing motor skills and learning the C-shape curve |
| Ages 10+ | Periodic spot checks & gentle reminders | Flossing all teeth independently with string or picks | Complete independence and long-term daily accountability |
When Can Kids Floss Completely on Their Own?
Children typically lack the manual dexterity required to floss thoroughly on their own until around age seven or eight. A good rule of thumb: If your child cannot write their own name neatly in cursive or tie their own shoes easily, they still need an adult to handle or complete their flossing.
4 Parent Hacks to Make Flossing Fun
If your child resists daily flossing, turning the chore into a playful, predictable habit eliminates daily power struggles.
- Floss Before Brushing: Flossing first loosens trapped food debris and opens contact spaces, allowing fluoride toothpaste to reach between teeth during brushing. Making flossing the “first step” ensures it never gets skipped when bedtime tiredness sets in.
- Sing a Flossing Song: Create a fun 30-second song or rhyme that lasts for the duration of the flossing routine. Singing gives children a clear auditory timer so they know exactly when the task will end.
- Use a Reward Chart: Track daily flossing with a colorful sticker chart. Letting your child place a sticker on their chart every evening builds pride and momentum toward a small weekend reward.
- Lead by Example: Let your children see you flossing your own teeth every single day. Children naturally imitate adult habits, and seeing you prioritize interdental care normalizes the routine for them.
What Parents Say About Our Pediatric Care
We know that choosing a pediatric dentist comes down to trust, comfort, and how your child feels in the chair. Here is what local parents have shared about their family’s experience with our specialized care across Hawaii:
Read Di S.‘s review of Pedodontic Associates – Kahala on Yelp
Read Kelly G.‘s review of Pedodontic Associates – Kahala on Yelp
Read Michael S.‘s review of Pedodontic Associates – Kahala on Yelp
Partner with a Pediatric Specialist
Building strong flossing habits at home is the ultimate defense against cavities, but routine professional checkups ensure your child’s tooth spacing and interdental health stay on track.
Both theAmerican Academy of Pediatric Dentistry and theAmerican Academy of Pediatrics recommend preventative dental visits every six months to monitor tooth development, check tight contacts with digital X-rays, and provide hands-on coaching for parents.
If you have questions about flossing your child’s teeth or want to schedule their next checkup, our team is here to support you. Explore our preventive solutions on ourPediatric Dental Services page orVisit Us to schedule an appointment today!
Medical & Legal Disclaimer: The content on this blog is provided for general informational purposes only and is not intended as medical advice, diagnosis, or treatment. Always seek the advice of a qualified pediatric dentist regarding your child’s specific oral health needs. If your child is experiencing a dental emergency, call 911 or proceed to the nearest emergency room immediately.